Arduino is the perfect starting point for any student who wants to move from watching YouTube videos about robots to actually building one. At KnowledgePitch's MakersPitch Lab, we've trained hundreds of Grade 8–10 students using exactly these five projects — in this order.
Each project builds on the last. By the time you finish all five, you'll understand electronics, programming logic, sensors, motors, and wireless communication — the foundation of almost every real-world engineering job.
What you need to get started: An Arduino Uno starter kit (available for ₹600–₹900 online), a laptop with the free Arduino IDE installed, and patience. That's it. You don't need any prior electronics or coding experience.
Project 1 — LED Blink (Your "Hello World")
LED Blink Controller
Easy — 30 minsEvery Arduino journey starts here. You'll wire an LED to pin 13, write 10 lines of code, and make it blink. Sounds simple — but this is the moment you realise you can make hardware respond to software. That feeling is why engineers become engineers.
What you learn: Digital output, the setup() and loop() functions, delays, and basic circuit wiring.
Project 2 — Temperature & Humidity Monitor
DHT11 Sensor Display
Easy — 1 hourConnect a DHT11 sensor and a 16×2 LCD screen to display live room temperature and humidity. This is your first useful device — something you'd actually want on your desk. You'll learn how to use external libraries, which is a skill used in every real software project.
What you learn: Sensor interfacing, I2C communication, importing libraries, Serial Monitor for debugging.
Project 3 — Ultrasonic Distance Meter
HC-SR04 Sonar Sensor
Medium — 1.5 hoursThe HC-SR04 sensor sends out a sound pulse and measures how long it takes to bounce back — exactly like a bat's echolocation or a parking sensor on a car. You'll display the distance on your LCD and add a buzzer that beeps faster as you get closer to an object.
What you learn: Pulse timing, trigonometry in code (speed of sound calculation), buzzer control with analogWrite().
Projects 3, 4, and 5 can be combined! The distance sensor from Project 3 becomes the "eyes" of the robot you build in Project 5. That's how real engineering works — you reuse modules you've already built.
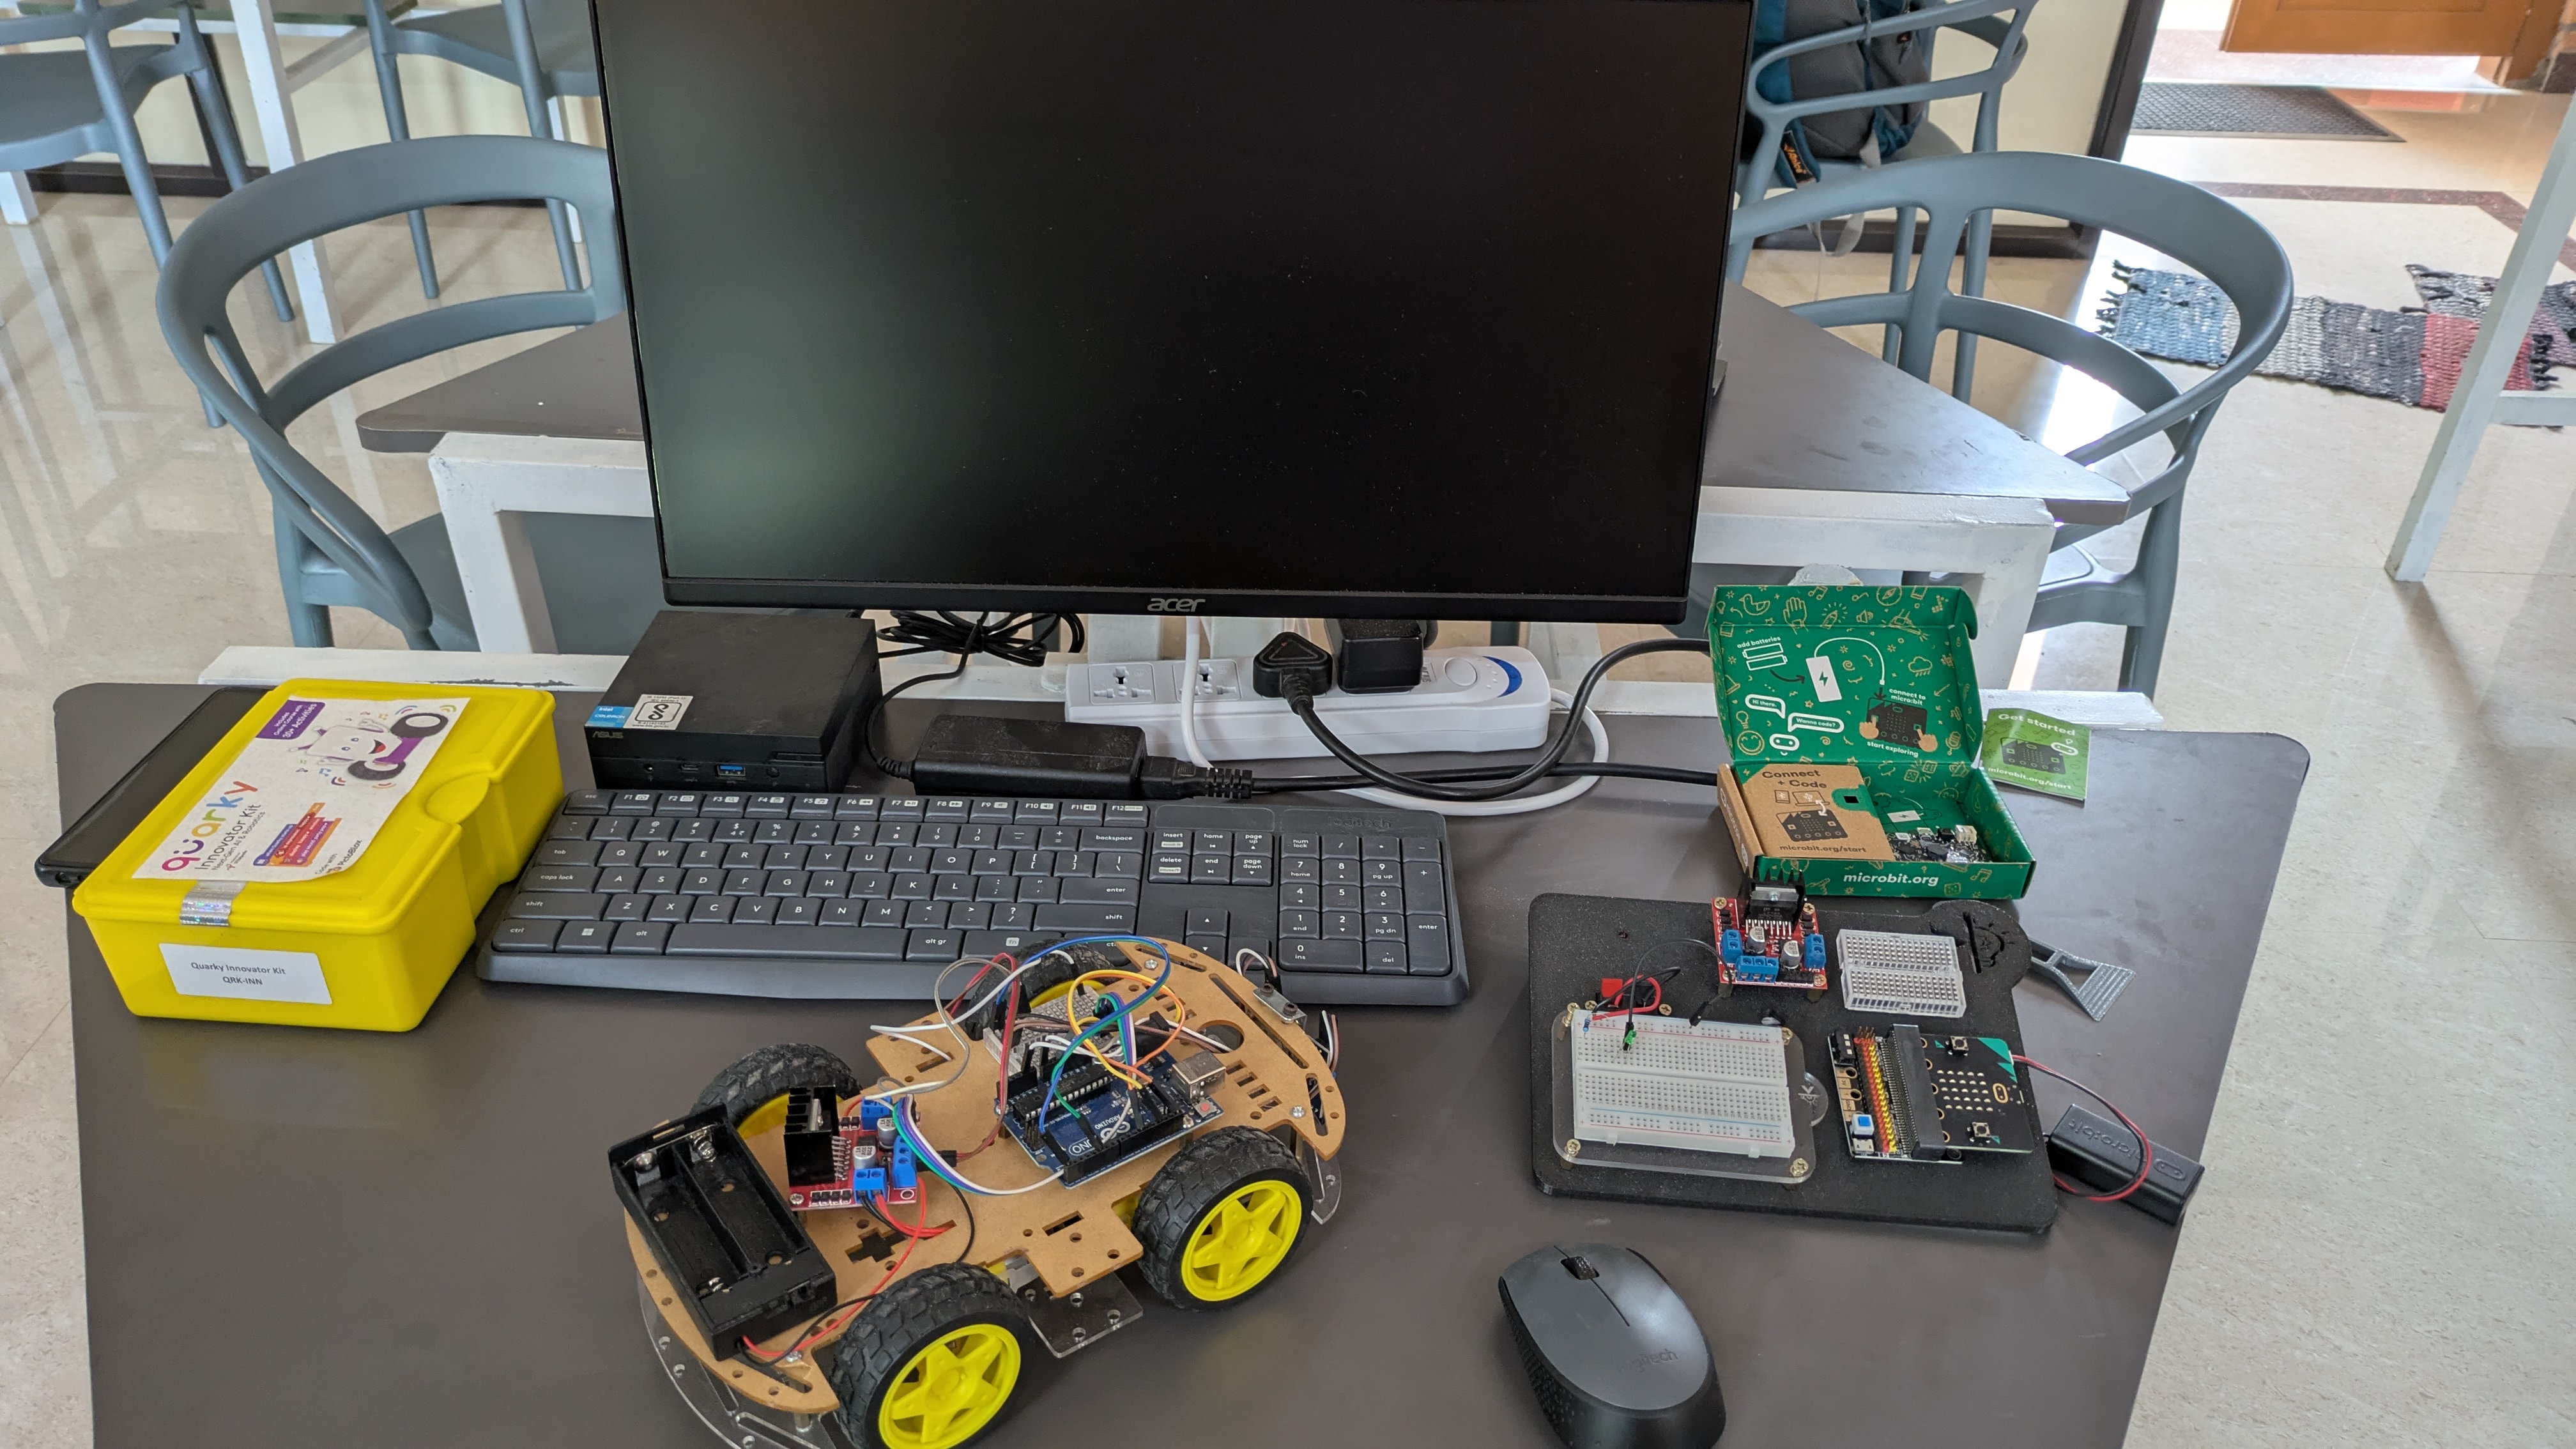
Project 4 — Motor Control with L298N Driver
Dual Motor Speed & Direction Controller
Medium — 2 hoursDC motors draw too much current for the Arduino to power directly — that's why we need a motor driver chip. You'll wire two DC motors to an L298N module and write code to control their speed (using PWM) and direction. Forward, backward, left, right — full control.
What you learn: PWM (Pulse Width Modulation), H-bridge circuits, external power supplies, motor direction logic.
Project 5 — Obstacle-Avoiding Robot Car
Autonomous Robot Car
Advanced — Half dayThis is where everything comes together. You'll mount the HC-SR04 on a servo motor so it can "look" left and right, combine it with your motor driver, and write an algorithm that makes the robot navigate around obstacles on its own — no remote control.
When your robot makes its first successful turn around a chair leg on its own, you'll understand why people dedicate their careers to robotics.
What you learn: Servo motors, autonomous decision logic, if-else branching, state machines, sensor fusion basics.
What's Next After These 5 Projects?
Once you've built all five, you're ready to explore:
- Bluetooth control — Add an HC-05 module and control your robot from your phone
- Wi-Fi & IoT — Switch to an ESP32 and send sensor data to the cloud
- Computer Vision — Add a camera and use OpenCV to make your robot recognise faces or colours
- Competition robotics — Enter state and national-level competitions like WRO or ABU Robocon
At KnowledgePitch MakersPitch Lab, all the components for these projects are available in our lab — you don't need to buy anything to start. Come for a free trial class and build Project 1 on your very first day.